1. Power#
This section is about making sure that all parts have electric power in order to click on an application icon to launch the svg2plot TUI (acronym for “Terminal User Interface”).
1.1. Power Up the Raspberry Pi & Controller#
The following parts need to be powered:
- Computer:
Connect the Raspberry Pi to an AC power plug and switch it on with the button on the supply cord.
Connect the computer screen to an AC power plug and switch it on.
Note
Sometimes a mechanic noise appears from the Raspberry Pi. It’s most probably the cooling fan. In that case, there’s no reason to worry.
- Controller Board:
Connect the board attached to the plotter frame to an AC power plug and switch it on.
Important
The board itself is powered via the USB connection with the Raspberry Pi (i.e. 5V light ON). The AC power is for the CNC shield built on top of the board which sends signals to the stepper motors (i.e. spindle lights ON). Without the AC power it seems that the board is running but the motors won’t receive any signals.
1.1.1. Desktop#
The Raspberry Pi will automatically boot into the desktop environment (no login or password required).
1.2. Launch the svg2plot Interface#
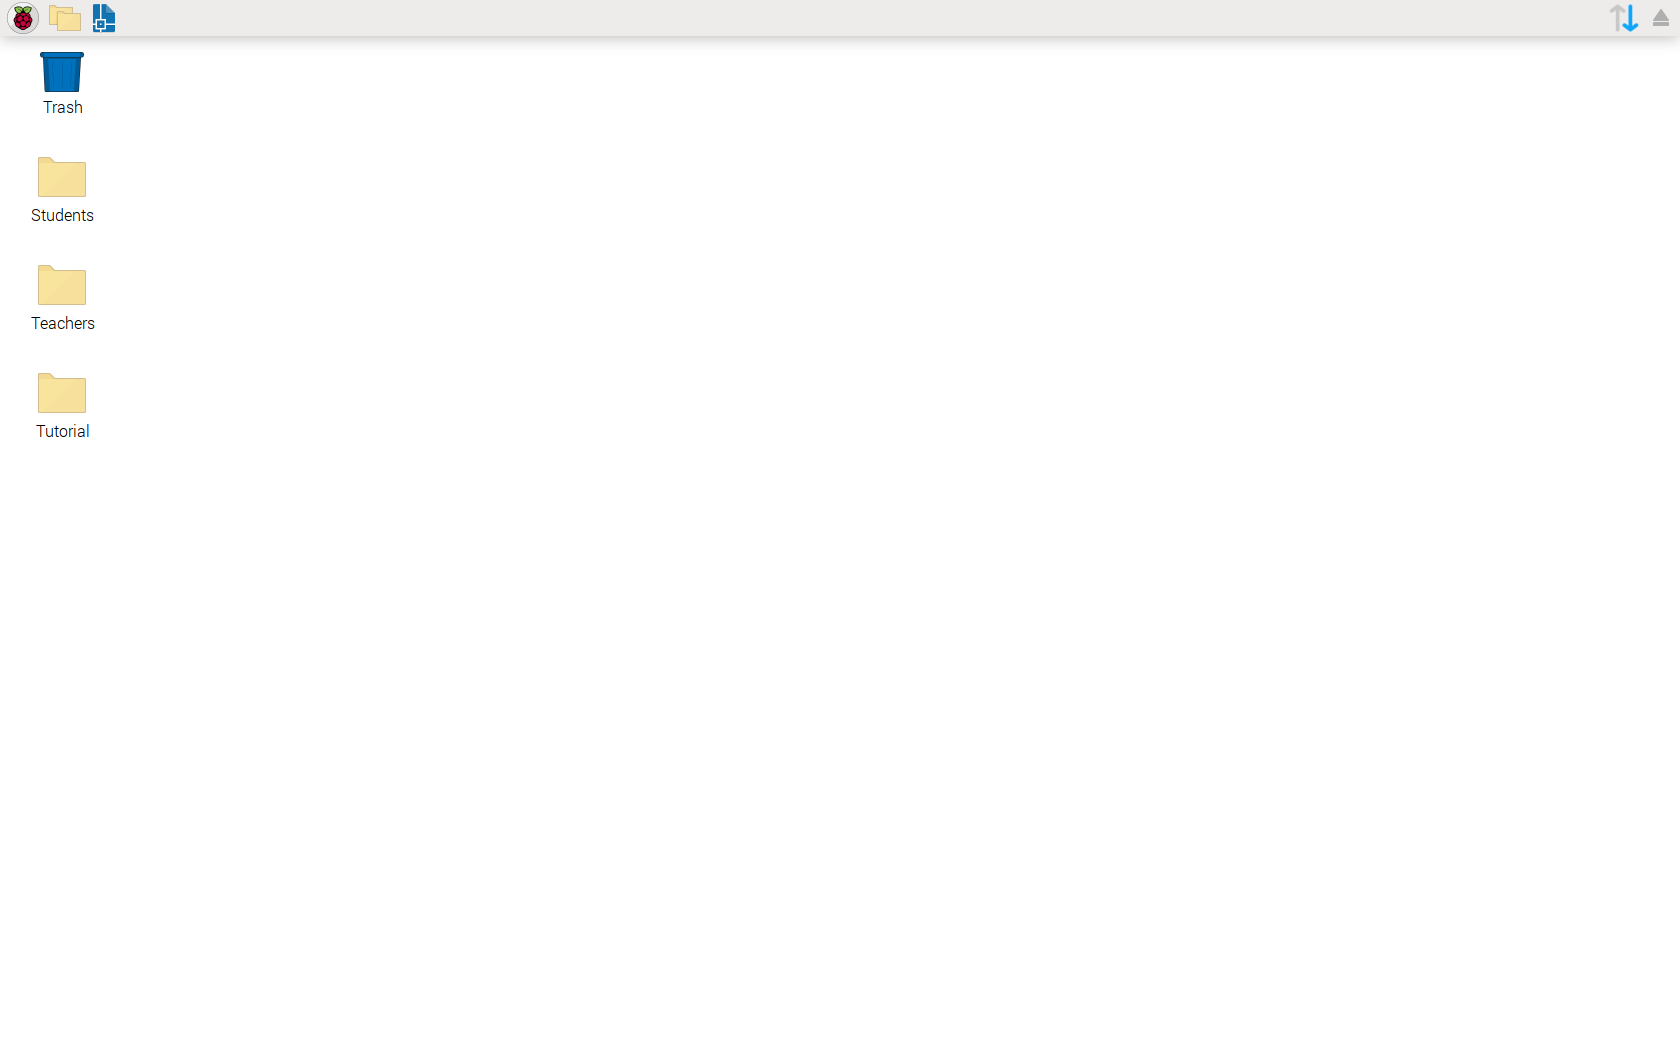
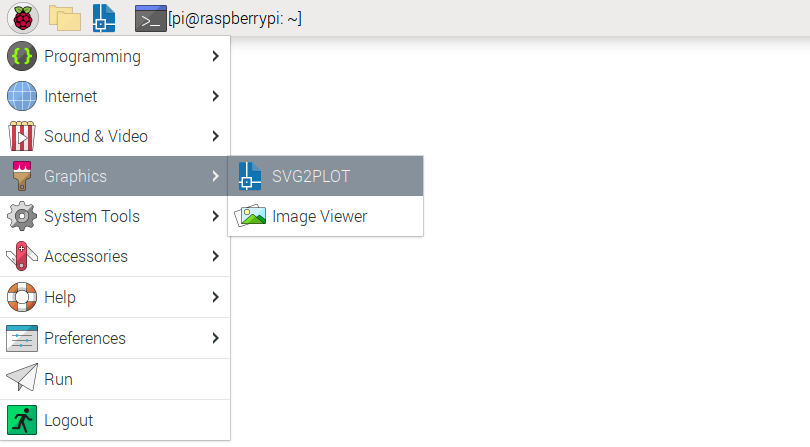
- Search for the plotter interface, a programm called SVG2PLOT already installed on the machine.
Navigate the menu
or click the shortcut in the application launch bar.
You should then see the following start screen opening in a terminal window.
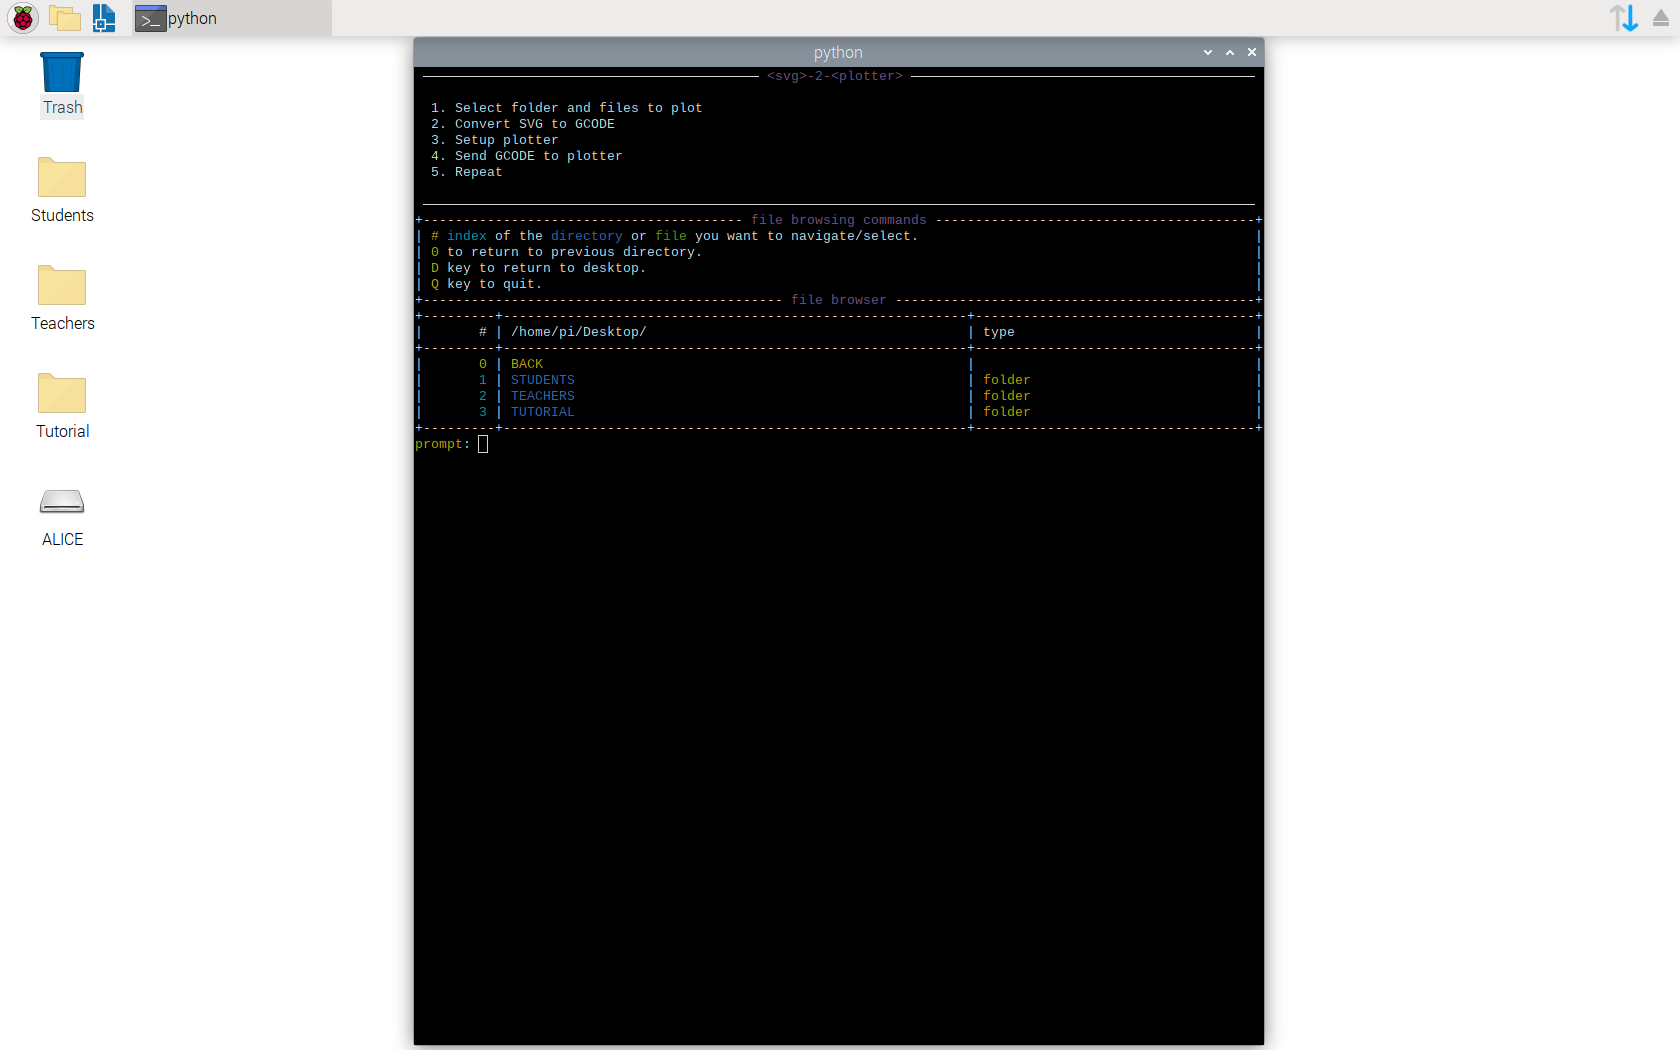
Tip
CTRL+C is a common way to kill a running process in the terminal and works as well with svg2plot.