2. File Handling#
This section is about entering alphanumerical commands in the TUI to select an SVG file somewhere on the Raspberry and which is to be converted into a gcode file.

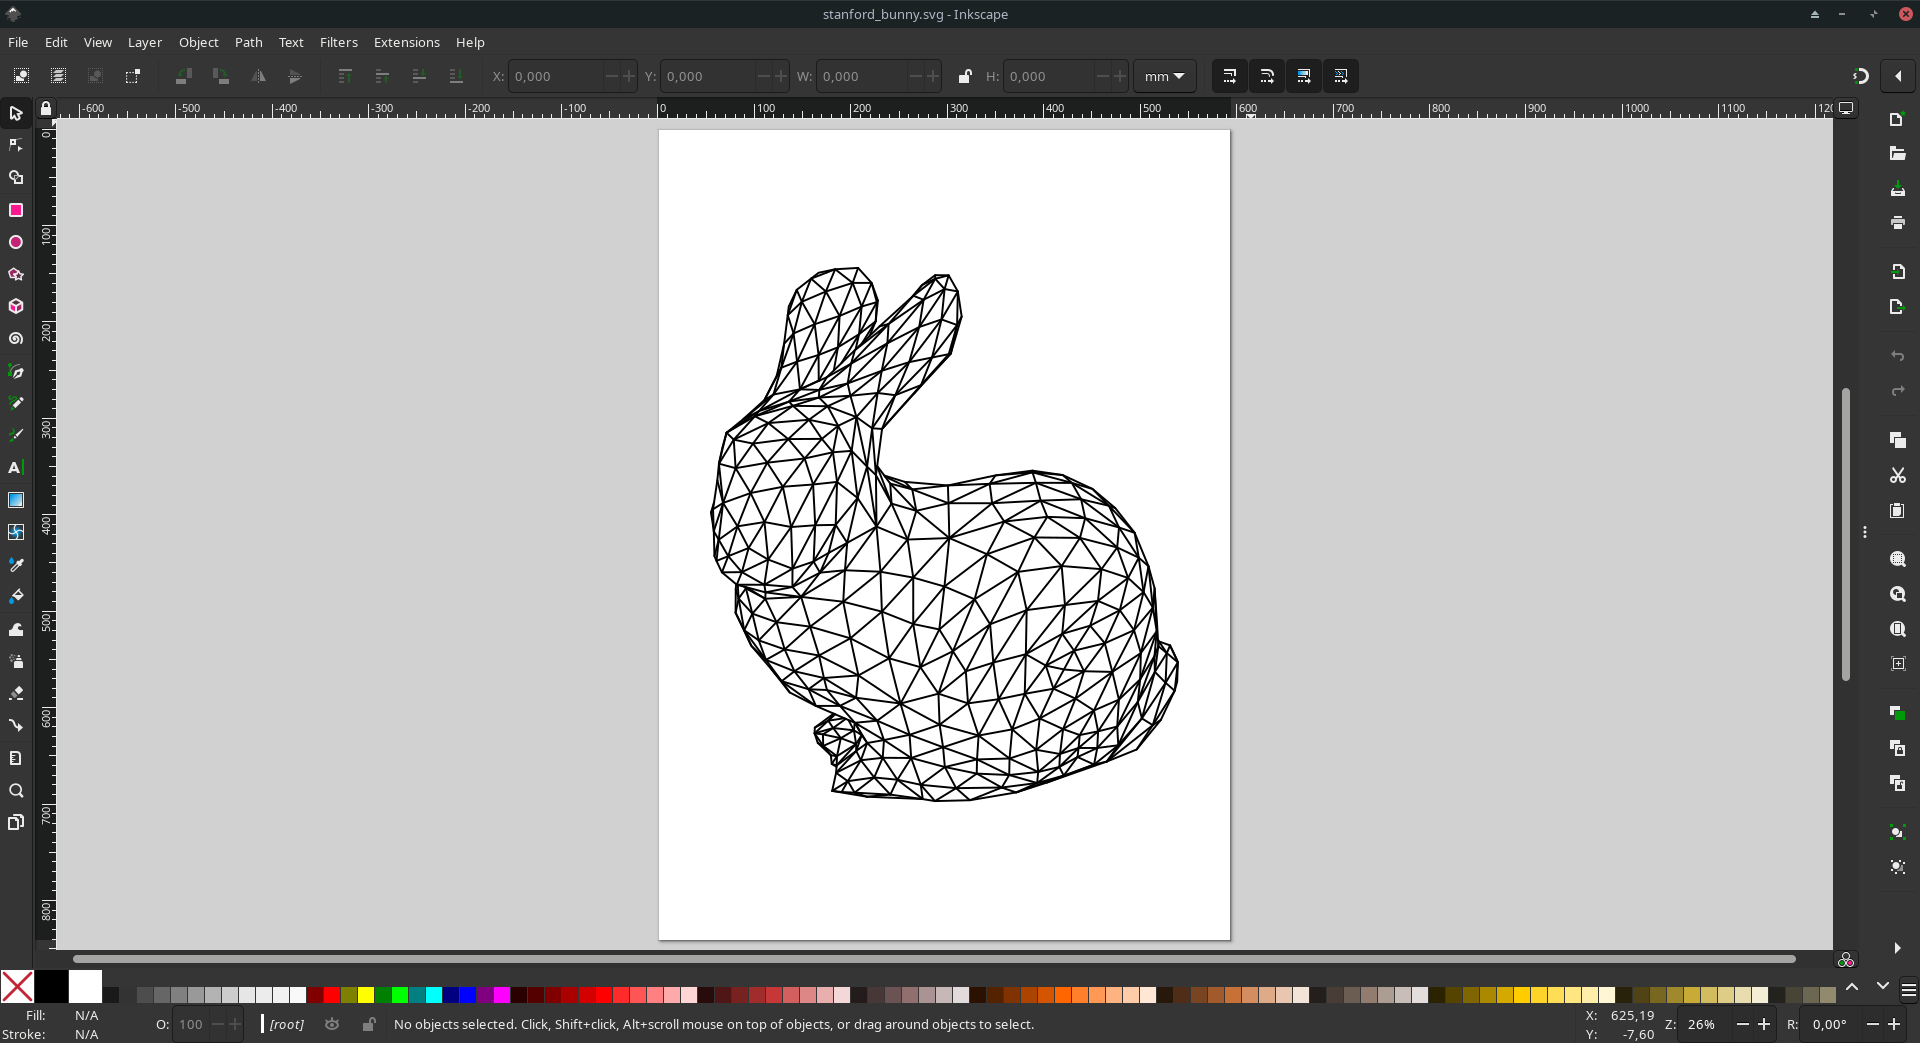
Preview of what comes next.#
2.1. Selection & Conversion to gcode#
The SVG file for the tutorial is ~/Desktop/Tutorial/stanford_bunny.svg.
It is a single layer SVG file with an A1 page size.
Different SVG File
If you use a different file than ~/Desktop/Tutorial/stanford_bunny.svg follow first the Multilayer SVG how-to guide before continuing this tutorial.
Warning
Future you: start using Inkscape ! Adobe uses a non standard dpi value. SVG files exported with Illustrator have the wrong scale and are too small. This issue is addressed in the Rescale Hack in the how-to guide.
- Use the prompt to browse the directories and files. The starting directory is
Desktop. prompt: 3> enter the directoryTutorialorStudentsand repeat until your directory.prompt: 2> select the filestanford_bunny.svgor your file.
confirm ? [y/n] (y):y> continue with the selected drawing.
optimize SVG before converting to gcode? [y/n] (y):y> this will run a series of commands on the input SVG file to optimize the vectors for potting. The input file is untouched and a new file is created with the same filename append with _optimized.svg.
+---------------------------------- selected file ----------------------------------+
| stanford_bunny_optimized.svg                                                      |
+-----------------------------------------------------------------------------------+
define pen pressure [min:0.1mm/max:3.0mm] (0.7):0.7> the pen pressure is expressed as the virtual distance the pen will travel on the Z axis bellow the paper.
+------------------------------------- output --------------------------------------+
| stanford_bunny_optimized_p07.gcode                                                |
+-----------------------------------------------------------------------------------+
2.2. File Preview#
preview drawing file? [y/n] (n):y> opens a new window. It is a preview of the plotter path.
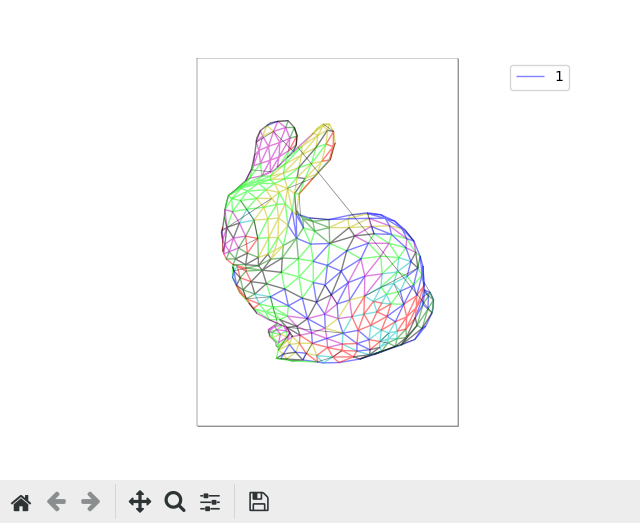
Plotting path preview of the generated ~/Desktop/Tutorial/stanford_bunny_optimized.svg file.
Each colour indicates a continuous PEN DOWN path. The thin black lines are the PEN UP paths.
Paths hold no information about the stroke quality (width, colour, pressure, etc.).
They are solely commands defining the movements of the plotter.#
Important
When launching the preview, the process of svg2plot freezes. Close the display window in order to continue.